Moins d'ampoules en 4 étapes faciles
Découvrez nos meilleures stratégies pour prendre soin de vos pieds
Prendre soin de ses pieds, c'est facile!
Des ampoules aux pieds peuvent transformer le plus beau des voyages en cauchemar. Pas de panique! Voici comment les éviter et les traiter en 4 étapes faciles:
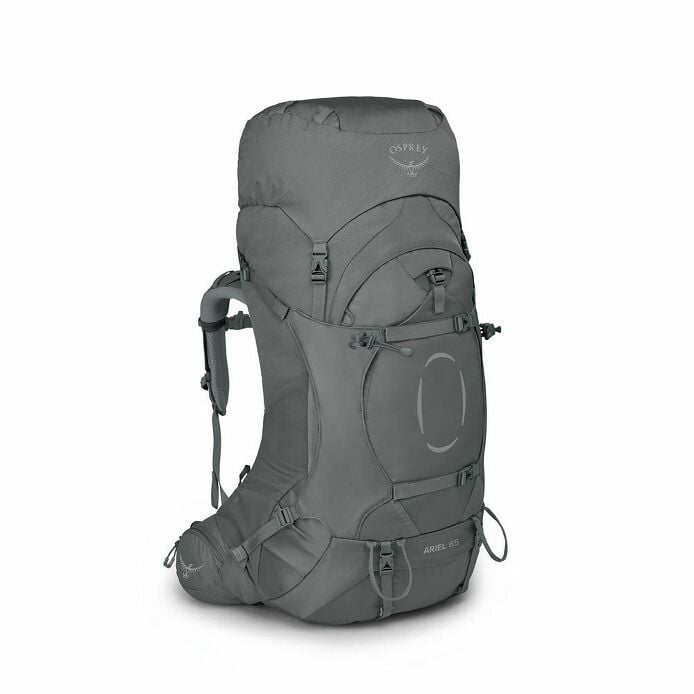
La bonne chaussure
1.Évitez les ampoules
Avant de partir, il faut s'assurer d'avoir la bonne chaussure. Elle doit être:
- De la bonne taille
- De la bonne largeur
- Compatible avec vos orthèses si vous en portez
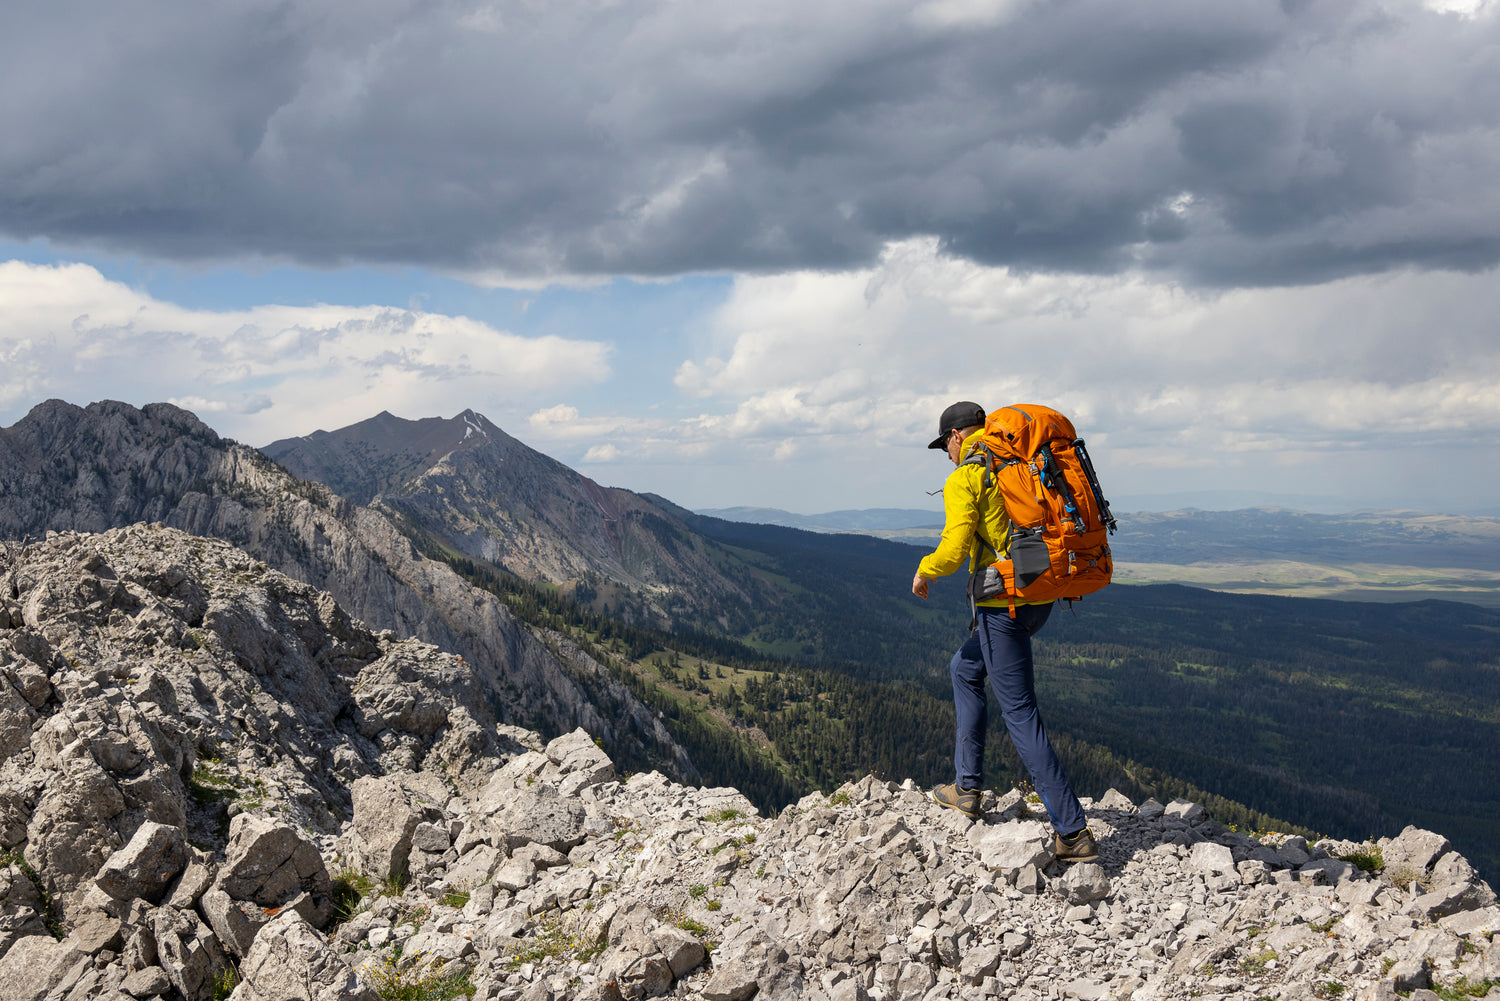
- Adaptée à votre poids total incluant votre sac à dos
- Assez solide pour les distances que vous prévoyez parcourir
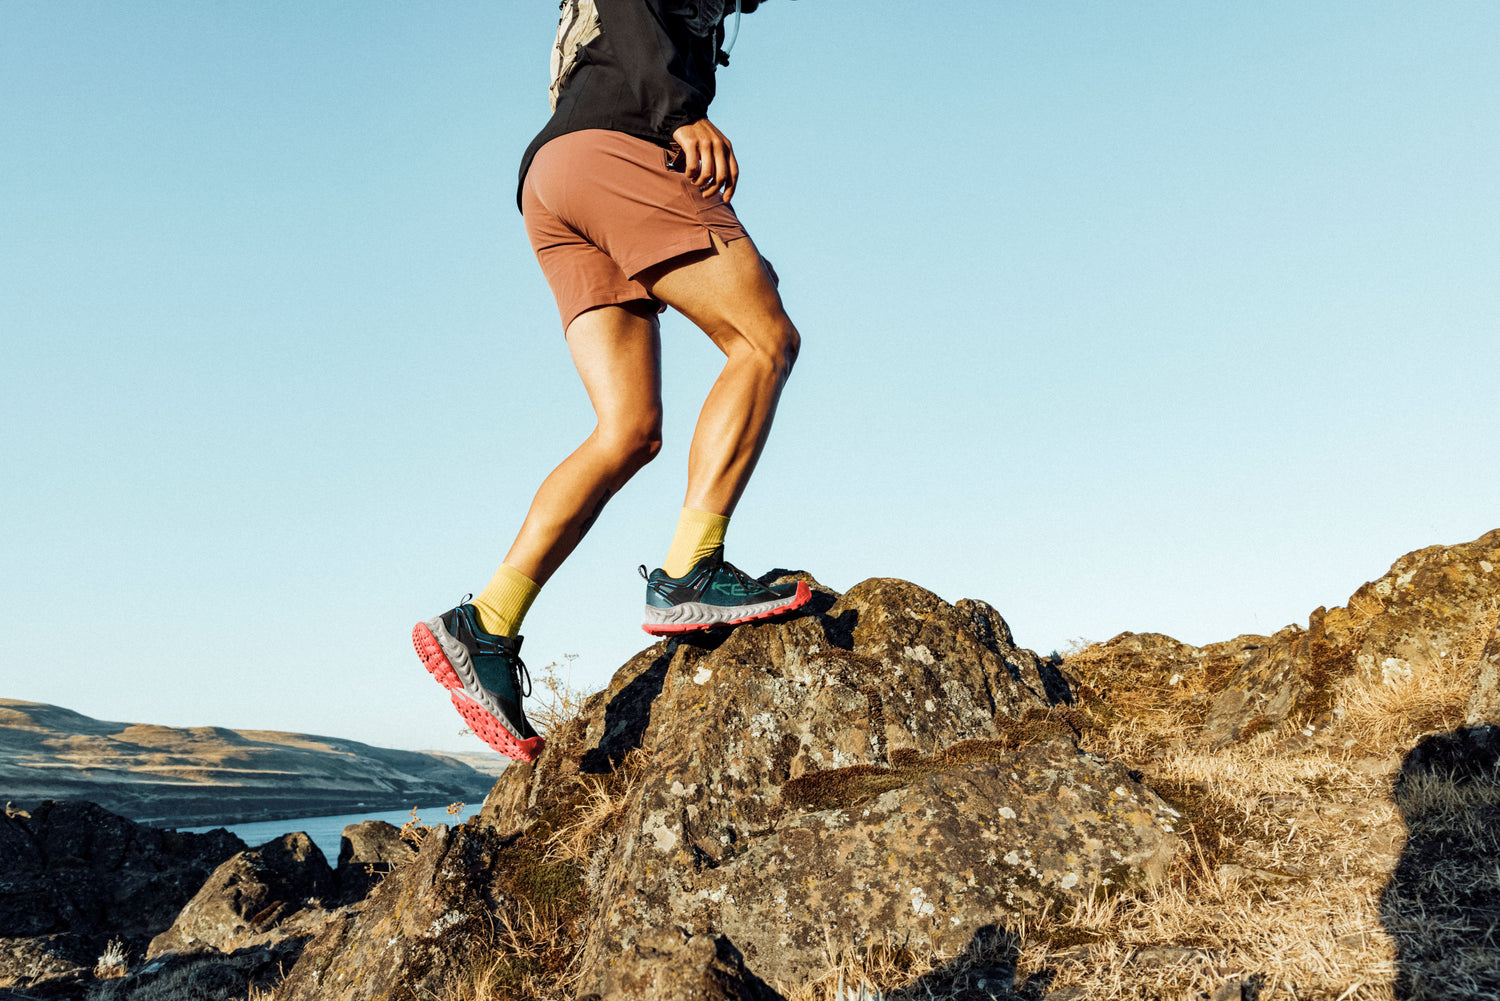
- Assez rigide avec un composé de semelle adapté pour les types de sol rencontrés (sable, neige, roche volacnique, granite, boue...)
- Fabriquée pour le type de terrain que vous affronterez (sentiers, hors-piste, plat, accidenté...)
- Adaptée au climat (chaud ou froid)
Le saviez-vous?
Un essayage de bottes de randonnée rigides en magasin prend en moyenne 1 heure. Partez du bon pied et demandez conseils à de vrais experts en randonnée avant d’acheter. Vos pieds vous remercieront!
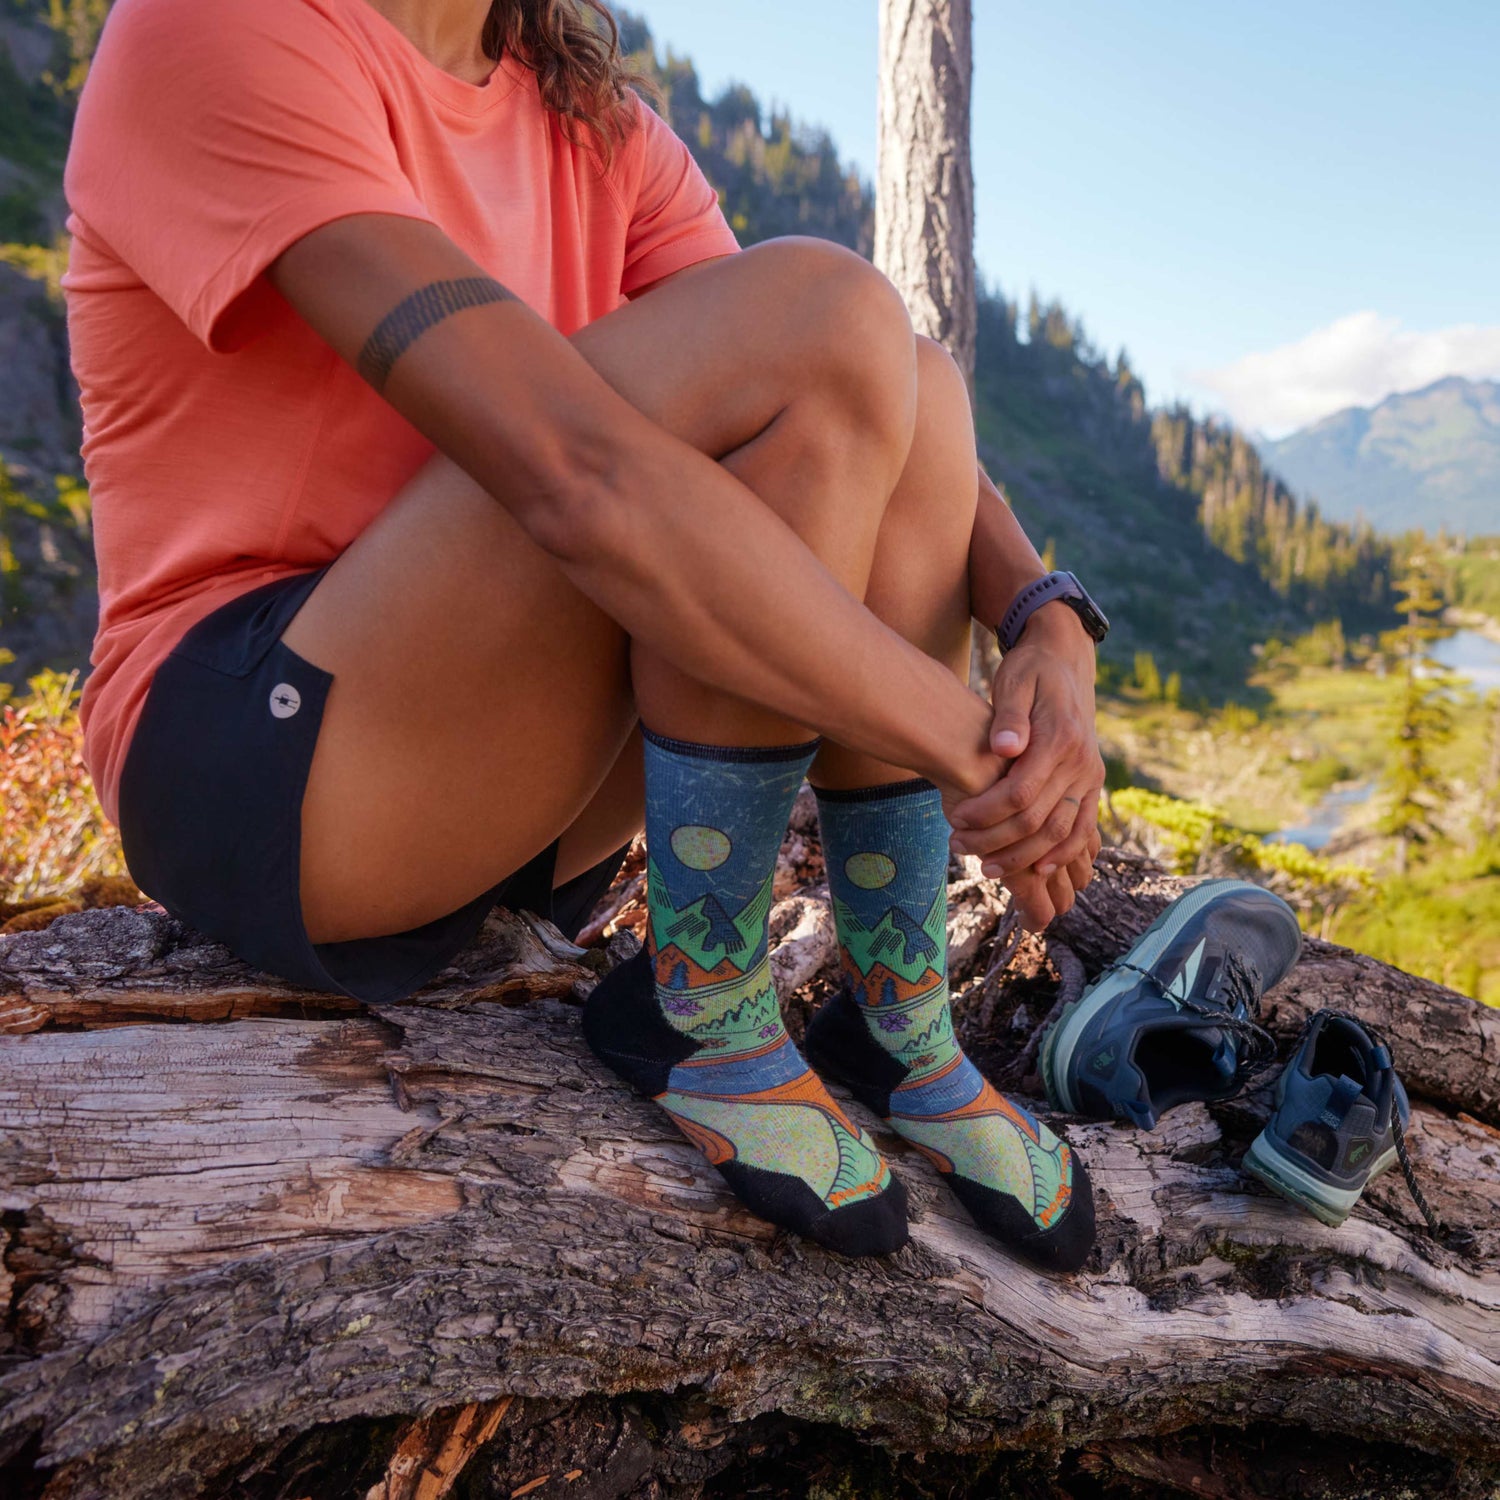
Les bons bas
Il vaut mieux prévoir plusieurs types de bas différents avant de partir.
- Un bas en laine mérinos d'épaisseur moyenne est votre base de départ
- Un bas très mince en synthétique vous sauvera si vos pieds enflent durant la journée
- On peut aussi ajouter un bas mince sous un bas de laine pour plus chaleur, plus de contrôle dans les sections techniques ou pour prévenir la friction sous la plante des pieds.

Gardez vos pieds propres et secs
Des chaussettes humides remplies de sable causeront des
ampoules. Pour ce faire, changez de chaussettes à chaque pause midi et prenez le temps d’enlever la fausse semelle de vos bottes pour la faire sécher. Votre arme secrète : une grosse épingle à couche. Elle vous permettra d’accrocher solidement vos chaussettes humides sur votre sac pour qu’elles sèchent en route.
Des guêtres légères sont fantastiques pour prévenir contre les tics et empêcher le sable et la pourrière de contaminer vos bas.
Un laçage efficace
Même les meilleures bottes du monde vous donneront des ampoules si elles ne sont pas lacées adéquatement. Voici 3 trucs simples:
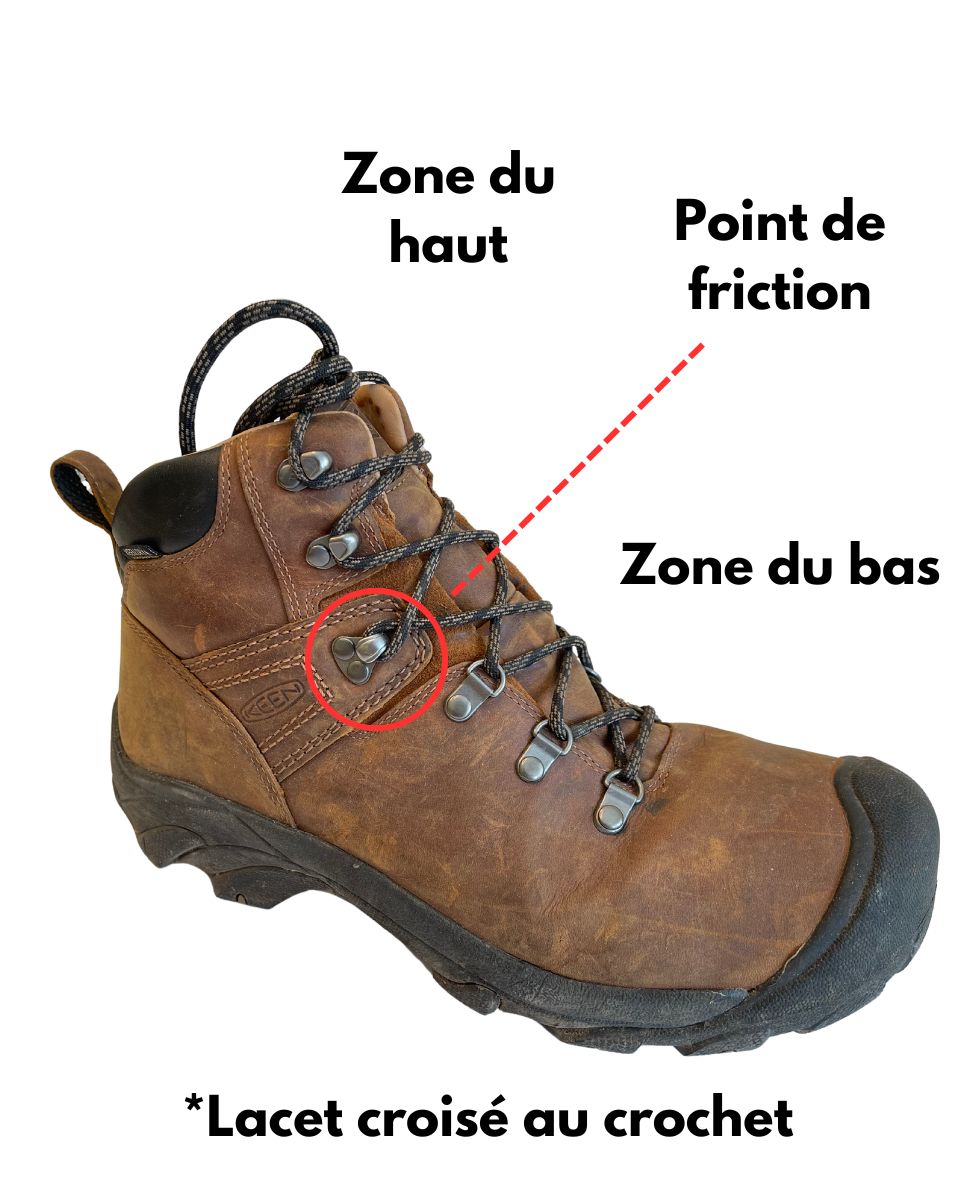
Créez 2 zones de laçage
Utilisez les crochets du bas ou un nœud pour créer 2 zones de laçage sur vos bottes. Pour la zone du bas, on vise un laçage ferme au centre avec un peu d'espace pour les orteils au bout.
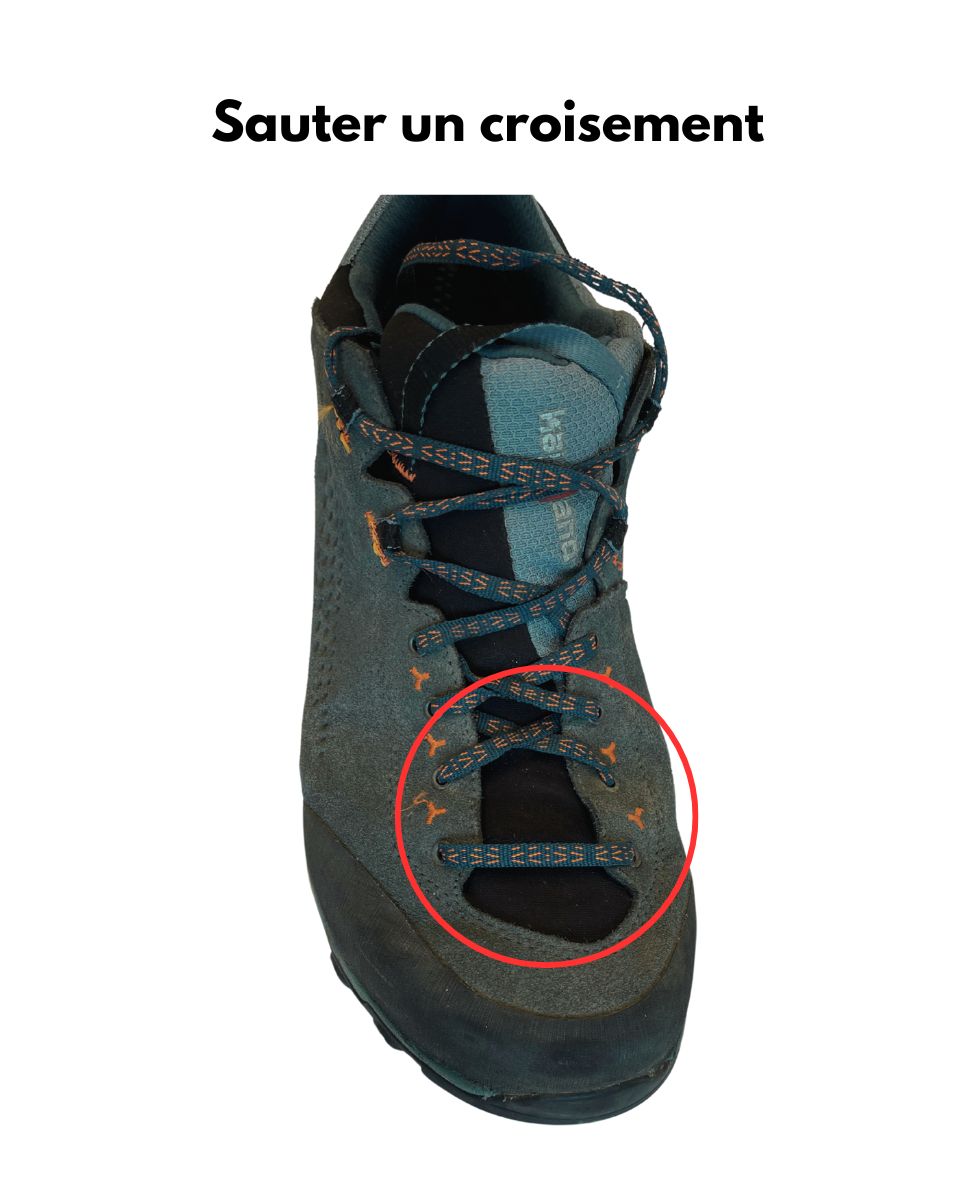
Sauter un croisement
Donnez de la place à vos orteils enflés ou enlevez de la pression sur votre arche en sautant un croisement de lacets.
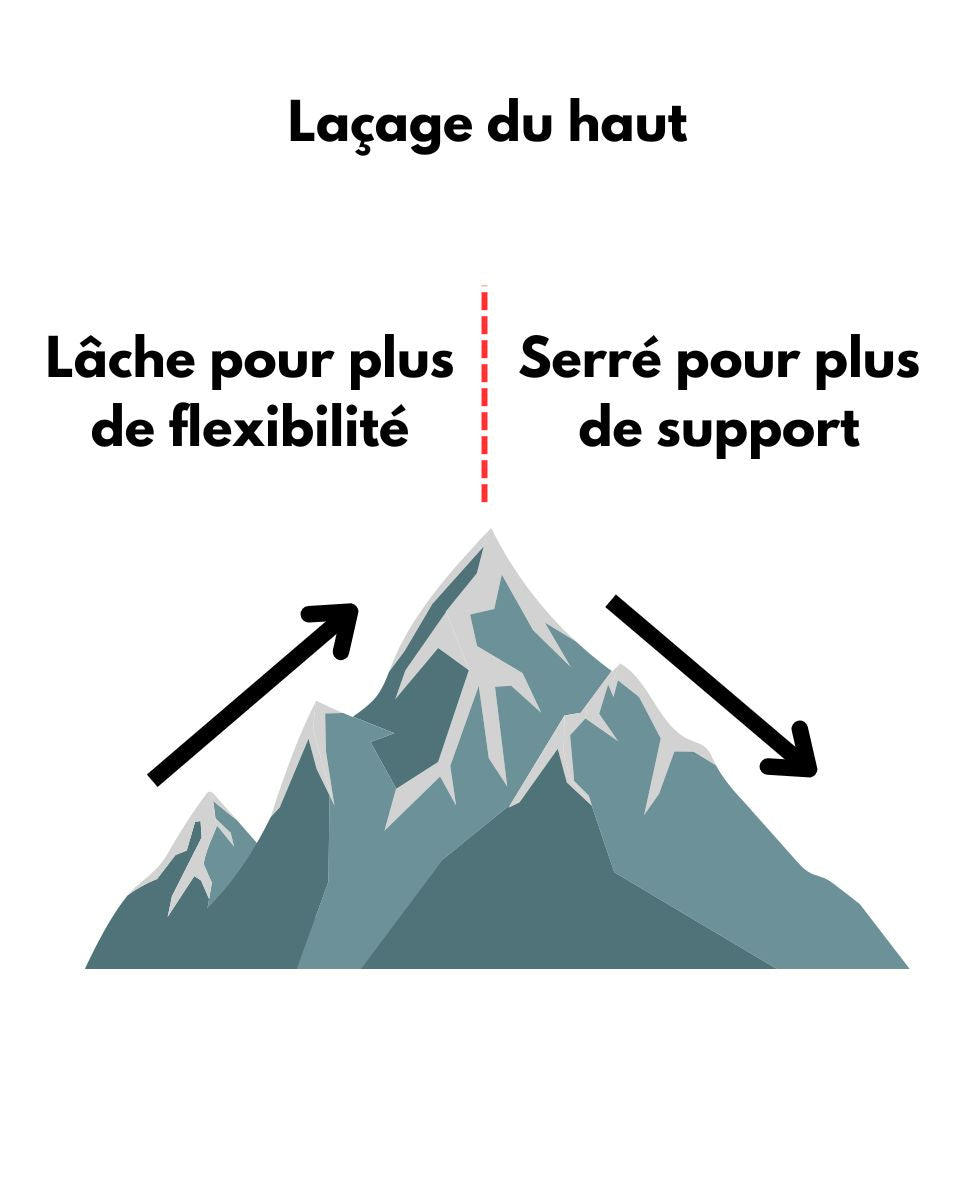
Adaptez en fonction du terrain
On ajuste la zone du haut en fonction du terrain. Plus serré pour les descentes pour soutenir la cheville et plus lâche pour les montées pour plus de flexibilité.
2. Les points chauds - le premier signe d'une ampoules
Agissez rapidement pour prévenir la formation des ampoules
Les oiseaux gazouillent, le ciel est bleu et la vie est belle, mais vous commencez à sentir un léger inconfort dans vos chaussures. On arrête tout! C’est peut-être une ampoule qui se forme. Utilisez les trucs précédents pour essayer de régler le problème : changer de chaussettes, enlever le sable dans les bottes, modifier le laçage…
Causes fréquentes d'ampoules et solutions
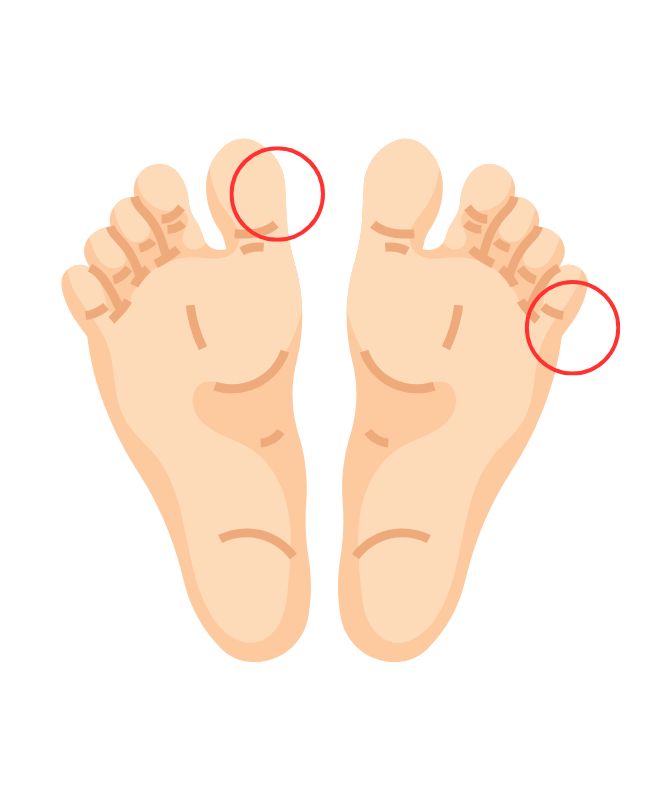
Ampoules sur les orteils
Bottes trop serrées en avant ou pieds qui ont enflés. On peut: changer pour des chaussettes minces ou faire un laçage en échelle sur le devant
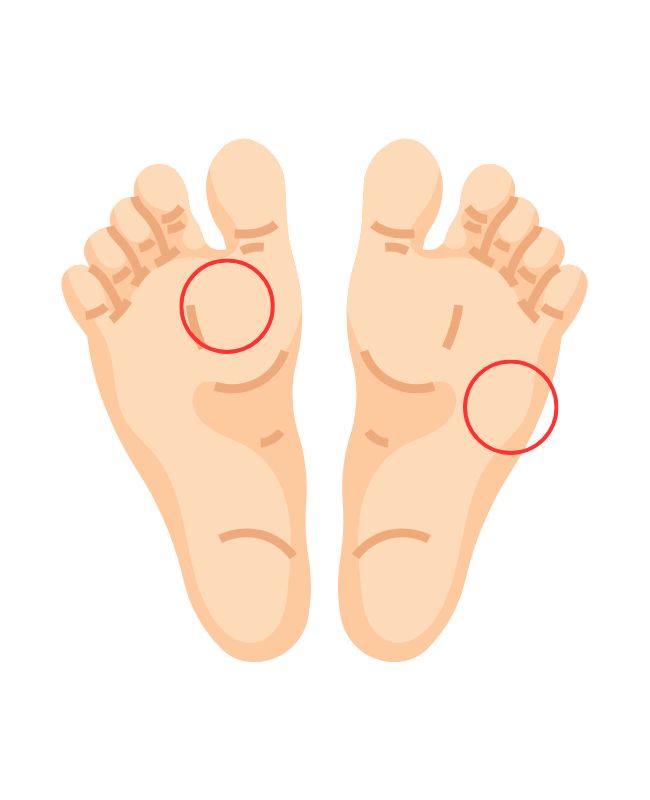
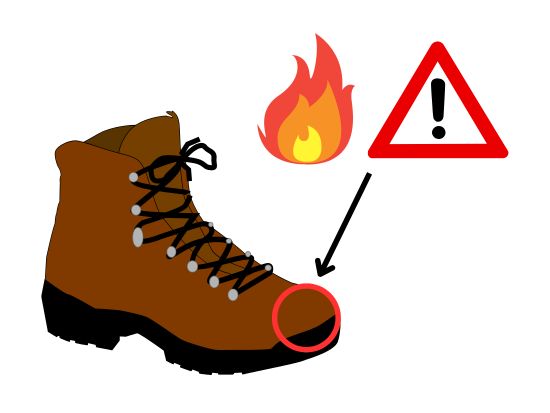
Ampoules sur la plante
Souvent en terrain escarpé dû à un laçage inadéquat. Serrer les lacets davantage, mettre des chaussettes plus épaisses ou 2 paires en même temps : minces puis épaisses. C'est aussi un très bon truc pour les ampoules au talon: la friction se fait entre les deux paires de bas et non sur la peau.
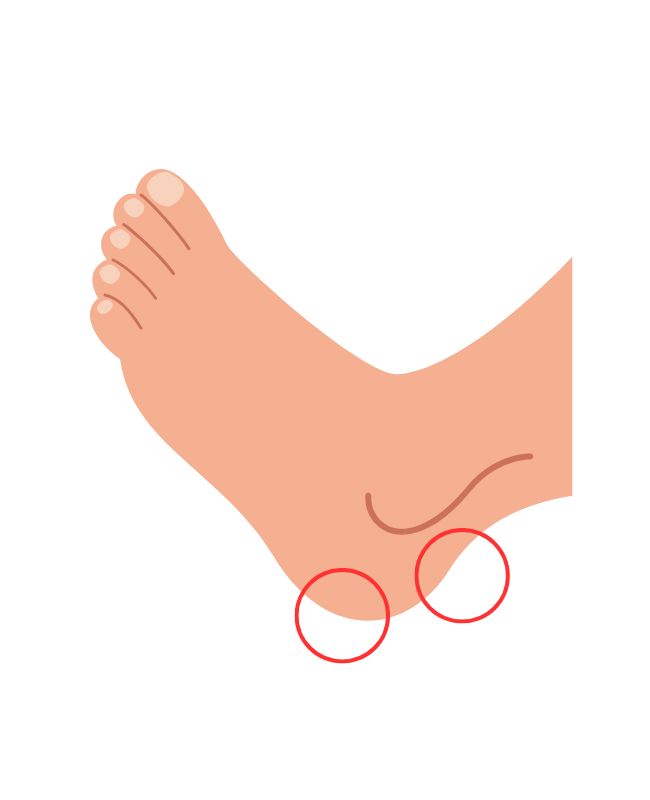
Ampoules au talon
Plusieurs causes, souvent dû au laçage trop lâche (bien cogner le talon au fond de la botte avant de lacer), au talon qui est mal positionné dans la botte (trop haut ou trop bas) ou a une couture qui frotte. C'est l'heure de faire du bricolage! Parfois, couper le rebord arrière de la fausse semelle peut donner plus d’espace et régler le problème en quelques secondes. On peut aussi remonter le talon en collant une couche mince sous la fausse semelle.

Plein air Entrepôt
Blister first aid kit
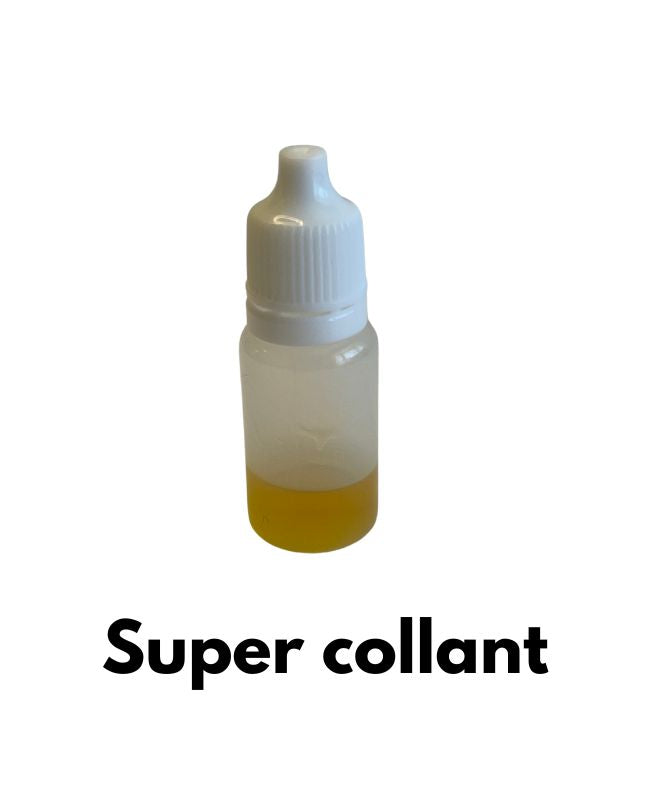
Teinture de benjoin
Elle est utilisée pour favoriser l'adhésion de pansements et bandages. Elle est sécuritaire, sent bon et insoluble dans l'eau donc très difficile à nettoyer sur les vêtements! À utiliser pour coller tout type de pansement.
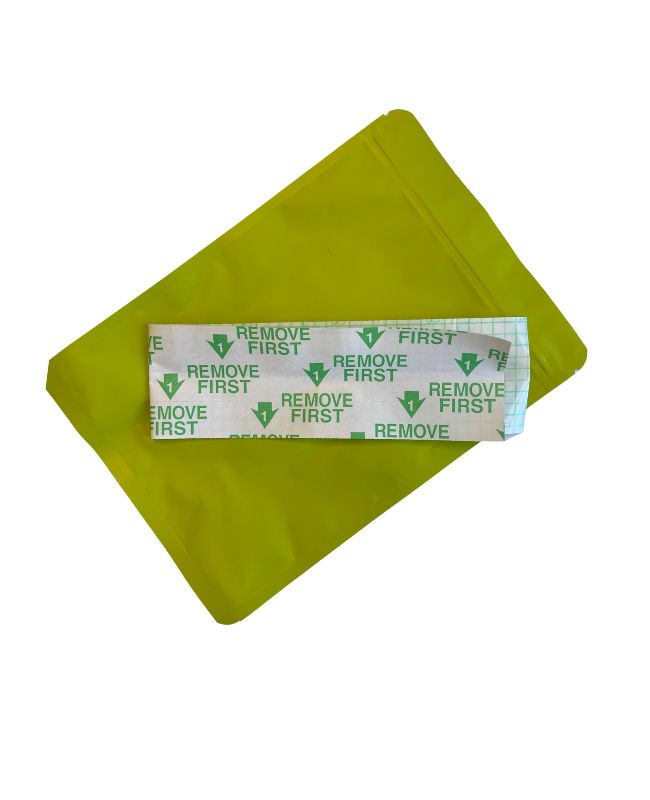
Ruban Opsite
L’Opsite en rouleau est idéal pour enlever la friction et prévenir les ampoules. C’est une pellicule mince, flexible, respirante et imperméable qui protège la peau. C’est aussi un excellent moyen de couvrir une ampoule existante ou les éraflures et coupures en tout genre.

KT Tape
Le KT Tape est un ruban adhésif flexible utilisé en physiothérapie. Il est très adhésif, résistant et sèche rapidement. À utiliser en prévention sur les points chauds au talon par exemple, mais pas sur des blessures existantes.
4.Aouch!
Malgré tous vos efforts, vous avez une ampoule. Quoi faire? Il y a des centaines de trucs sur le web, mais voici la stratégie personnelle de François, notre expert en longue randonnée.
Si votre ampoule est intacte et n’est pas encore percée, vous pouvez utiliser la teinture de benjoin (autour) et du KT Tape ou une Opsite. Ça vous permettra de vous rendre au campement du soir! Si l’ampoule est bien développée ou percée, votre objectif est maintenant de diminuer sa taille et enlever la douleur avant le départ du lendemain matin.
Le soir, faites une incision dans l’ampoule pour drainer le fluide qui s’y trouve et faire sécher l’intérieur durant la nuit. Utilisez un canif propre et désinfecté pour éviter les infections.
Le lendemain matin, quand vos pieds sont propres et secs, utilisez la teinture de benjoin autour et couvrez l’ampoule avec une Opsite de bonne taille. Elle devrait tenir toute la journée. Ce sera un peu douloureux, mais devrait guérir par soi-même d’ici quelques jours.